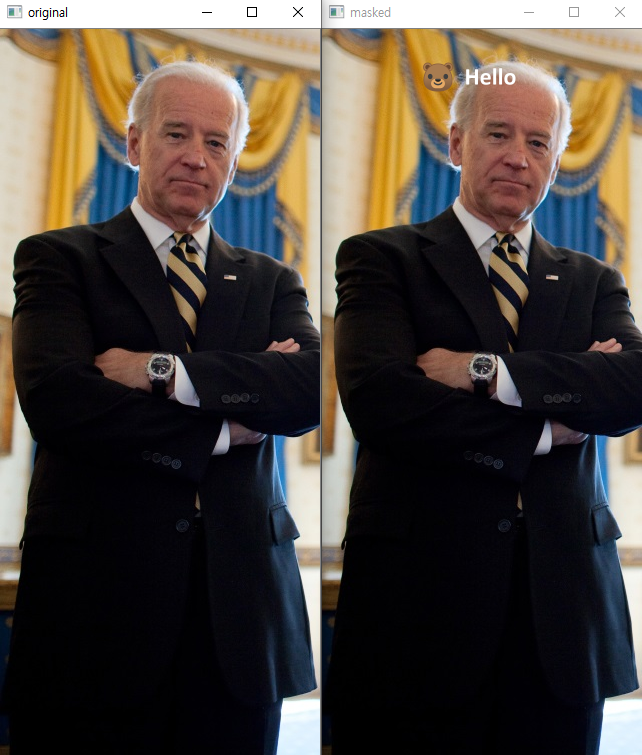
Image Processing #2 - Shift
Sample codes are in my Repo.
Move image to left, right, top, bottom.
Run the code.
If you give y value, the image surely moves y direction too.
As you can see, if you roll the numpy array to x direction, the shift out values are newly refilled in front.
Run the code.
And P[-2:,:] means last 2 rows of array and P[-2:,:] means last 2 columns.
This code demonstrates numpy to replace columns or rows of a matrix with a different value.
Run the code.
Run the code.
You can download the source codes here(https://github.com/raspberry-pi-maker/OpenCV)
Move image to left, right, top, bottom.
Translation using cv2.warpAffine
import argparse
import cv2
import numpy as np


parser = argparse.ArgumentParser(description="OpenCV Example")
parser.add_argument("--file", type=str, required=True, help="filename of the input image to process")
parser.add_argument("--x", type=int, required=True, help="shift value of X direction")
parser.add_argument("--y", type=int, required=True, help="shift value of Y direction")
args = parser.parse_args()

img = cv2.imread(args.file, cv2.IMREAD_COLOR)
height, width, channels = img.shape
print("image   H:%d W:%d, Channel:%d"%(height, width, channels))
cv2.imshow('original', img)

translation_matrix = np.float32([ [1,0,args.x], [0,1,args.y] ])
img_translation = cv2.warpAffine(img, translation_matrix, (width, height))

cv2.imshow('translate', img_translation)

cv2.waitKey(0)
cv2.destroyAllWindows()
Run the code.
python exam2.py --file=biden.png --x=100 --y=0
image   H:727 W:320, Channel:3
If you give y value, the image surely moves y direction too.
Shift image using numpy.roll
This is the numpy.roll function.numpy.roll
numpy.roll(a, shift, axis=None)[source]- Roll array elements along a given axis.Elements that roll beyond the last position are re-introduced at the first.
Parameters: a : array_likeInput array.shift : int or tuple of intsThe number of places by which elements are shifted. If a tuple, then axis must be a tuple of the same size, and each of the given axes is shifted by the corresponding number. If an int while axis is a tuple of ints, then the same value is used for all given axes.axis : int or tuple of ints, optionalAxis or axes along which elements are shifted. By default, the array is flattened before shifting, after which the original shape is restored.Returns: res : ndarrayOutput array, with the same shape as a.
As you can see, if you roll the numpy array to x direction, the shift out values are newly refilled in front.
import argparse
import cv2
import numpy as np


parser = argparse.ArgumentParser(description="OpenCV Example")
parser.add_argument("--file", type=str, required=True, help="filename of the input image to process")
parser.add_argument("--x", type=int, required=True, help="shift value of X direction")
parser.add_argument("--y", type=int, required=True, help="shift value of Y direction")
args = parser.parse_args()

img = cv2.imread(args.file, cv2.IMREAD_COLOR)
height, width, channels = img.shape
print("image   H:%d W:%d, Channel:%d"%(height, width, channels))
cv2.imshow('original', img)

# if args.x:
#     img = np.roll(img, args.x, axis = 1) #axis = 1: x direction
# if args.y:
#     img = np.roll(img, args.y, axis = 0) #axis = 0: y direction

img = np.roll(img, (args.x, args.y), axis = (1, 0))

cv2.imshow('roll', img)

cv2.waitKey(0)
cv2.destroyAllWindows()
Run the code.
python exam3.py --file=biden.png --x=100 --y=100
image   H:727 W:320, Channel:3
Shift image using numpy.roll + Fill zero cut off with shift
In the above example, we used numpy.roll function to shift the image. Now let's make fill the shift out region to black(0).Numpy basic example
P[:,:2]( = P[:,0:2]) means first 2 rows of array and P[:2,:] ( = P[0:2,:]) means first 2 columns.And P[-2:,:] means last 2 rows of array and P[-2:,:] means last 2 columns.
This code demonstrates numpy to replace columns or rows of a matrix with a different value.
# To add a new cell, type '# %%'
# To add a new markdown cell, type '# %% [markdown]'
# %%
import numpy as np
P = np.array([[1, 2, 3], [4, 5, 6], [7, 8, 9]])
print(P)


# %%
# X coordination shifting
#s = np.array([[0,0], [0,0], [0,0]])
P = np.array([[1, 2, 3], [4, 5, 6], [7, 8, 9]])
s = np.full((3, 2), 0)
P[:, 0:2] = s
print(P)


# %%
# Y coordination shifting
#s = np.array([[0, 0, 0], [0, 0, 0]])
P = np.array([[1, 2, 3], [4, 5, 6], [7, 8, 9]])
s = np.full((2, 3), 0)
P[0:2, :] = s
print(P)


# %%
# -X coordination shifting
#s = np.array([[0,0], [0,0], [0,0]])
P = np.array([[1, 2, 3], [4, 5, 6], [7, 8, 9]])
s = np.full((3, 2), 0)
P[:, -2:] = s
print(P)


# %%
# -Y coordination shifting
#s = np.array([[0, 0, 0], [0, 0, 0]])
P = np.array([[1, 2, 3], [4, 5, 6], [7, 8, 9]])
s = np.full((2, 3), 0)
P[-2:, :] = s
print(P)
Run the code.
python exam5.py
[[1 2 3]
 [4 5 6]
 [7 8 9]]
[[0 0 3]
 [0 0 6]
 [0 0 9]]
[[0 0 0]
 [0 0 0]
 [7 8 9]]
[[1 0 0]
 [4 0 0]
 [7 0 0]]
[[1 2 3]
 [0 0 0]
 [0 0 0]]
Image example
# To add a new cell, type '# %%'
# To add a new markdown cell, type '# %% [markdown]'
# %%
import numpy as np
import cv2
filename = 'F:\\study\\opencv\\biden.png'
img = cv2.imread(filename, cv2.IMREAD_COLOR)
height, width, channels = img.shape
print("image   H:%d W:%d, Channel:%d"%(height, width, channels))
#cv2.imshow('original', img)


# %%
#shift X direction 100 pixels
black = np.full((height, 100, channels), 0, dtype=np.uint8)
shiftX = np.roll(img, (100, 0), axis = (1, 0))
shiftX[:, 0:100,:] = black


# %%
#shift Y direction 100 pixels
black = np.full((100, width, channels), 0, dtype=np.uint8)
shiftY = np.roll(img, (0, 100), axis = (1, 0))
shiftY[0:100, : ,:] = black


# %%
cv2.imshow('roll-X', shiftX)
cv2.imshow('roll-Y', shiftY)

cv2.waitKey(0)
cv2.destroyAllWindows()


# %%
Run the code.
You can download the source codes here(https://github.com/raspberry-pi-maker/OpenCV)


댓글
댓글 쓰기